Mastering the Art: How to Build a Gaming PC From Scratch
how to build a gaming pc

Mastering the Art: How to Build a Gaming PC From Scratch

Unlock unparalleled performance and customization by assembling your dream gaming machine with this comprehensive guide.

Start Building Your Dream PC!

Key Takeaways

  • ✓ Building your own gaming PC can save you money compared to pre-builts.
  • ✓ Custom PCs offer superior performance and upgradeability.
  • ✓ No prior technical experience is required with the right guidance.
  • ✓ Careful component selection is crucial for optimal gaming performance.

How It Works

1
Gather Your Components

Research and purchase all necessary hardware: CPU, GPU, Motherboard, RAM, Storage, PSU, and Case. Ensure compatibility between all parts for a smooth build.

2
Assemble Core Components

Install the CPU, CPU cooler, and RAM onto the motherboard outside the case. This makes handling easier and reduces the risk of accidental damage.

3
Mount in Case & Wire

Secure the assembled motherboard into the PC case, then install the power supply and storage drives. Carefully route all necessary power and data cables.

4
Install Graphics Card & OS

Insert your powerful graphics card into the PCIe slot and connect its power cables. Finally, install your operating system and necessary drivers to get gaming.

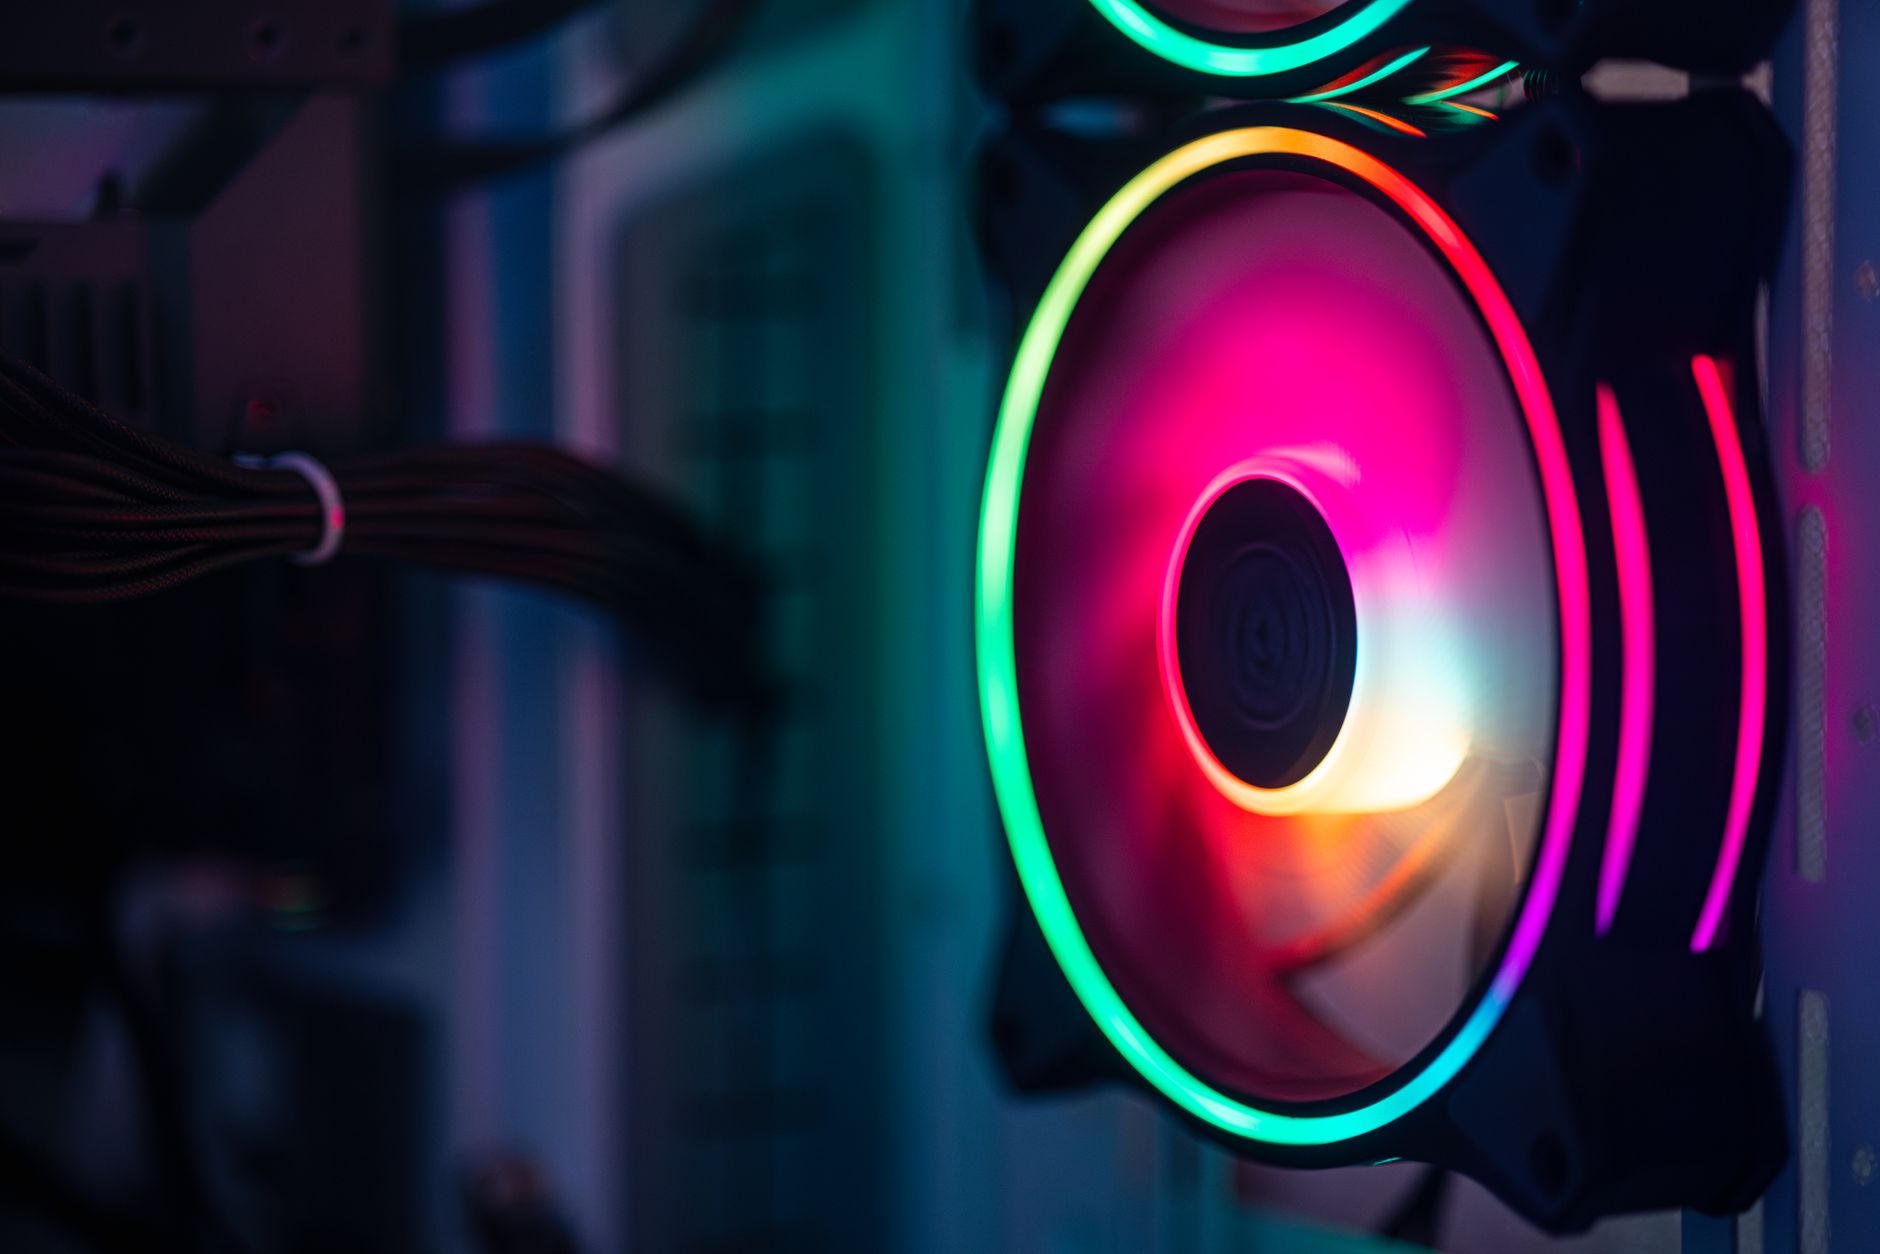
Understanding Your Gaming PC Components

Detailed close-up of a circuit board showcasing electronic components in soft focus. Photo: Pok Rie / Pexels
Embarking on the journey of building your own gaming PC is incredibly rewarding, offering a deeper understanding of your machine and the satisfaction of creating something powerful with your own hands. Before you even think about screwdrivers and thermal paste, the most critical step is understanding and selecting your components. This forms the bedrock of your entire build, influencing performance, upgradeability, and ultimately, your gaming experience. Think of it like planning a custom-built car; every part needs to work in harmony. The central processing unit (CPU) is the 'brain' of your computer. For gaming, you'll want a CPU with a good balance of clock speed and core count. Intel's Core i5/i7/i9 series or AMD's Ryzen 5/7/9 series are popular choices, each offering various generations with improving performance. Your choice here will impact how well your PC handles game logic, AI, and background tasks. The graphics processing unit (GPU), often called the graphics card, is arguably the most crucial component for gaming. This is what renders the stunning visuals you see on your screen. NVIDIA's GeForce RTX series and AMD's Radeon RX series dominate the market, offering a wide range of performance tiers. Your GPU choice will largely dictate what resolutions and frame rates you can achieve in games. Don't skimp here if high-fidelity gaming is your priority. Next up is the motherboard, which acts as the nervous system, connecting all your components. It needs to be compatible with your chosen CPU (check the socket type, e.g., AM4, LGA1700) and support the features you need, such as sufficient RAM slots, M.2 slots for fast storage, and PCIe lanes for your GPU. Different chipsets offer varying features and overclocking capabilities. Random Access Memory (RAM) is your PC's short-term memory, crucial for multitasking and loading game assets quickly. For a gaming PC, 16GB is generally considered the sweet spot, though 32GB offers more headroom for future-proofing and heavy multitasking. Look for DDR4 or the newer DDR5 modules with decent speeds (e.g., 3200MHz or 3600MHz for DDR4). Storage is where your operating system, games, and files reside. Solid State Drives (SSDs) are essential for gaming due to their lightning-fast load times. NVMe M.2 SSDs are the fastest, followed by SATA SSDs. A common setup is a smaller NVMe drive for your OS and primary games, supplemented by a larger SATA SSD or traditional Hard Disk Drive (HDD) for mass storage. The Power Supply Unit (PSU) provides electricity to all your components. Its wattage needs to be sufficient to power your entire system, with a little extra headroom for future upgrades. Choose a reputable brand and look for an 80 Plus certification (Bronze, Gold, Platinum) for efficiency. Finally, the PC case houses all your components. Beyond aesthetics, consider airflow, cable management options, and compatibility with your motherboard and GPU size. A well-ventilated case is vital for keeping temperatures down and ensuring longevity. Carefully researching each of these components and ensuring their compatibility is the first and most critical step in building a successful gaming PC. For more in-depth guidance on choosing the right parts, check out our guide on best gaming PC components.

Step-by-Step Assembly: Bringing Your Vision to Life

Detailed view of computer motherboard featuring RAM, chipset, and wiring. 
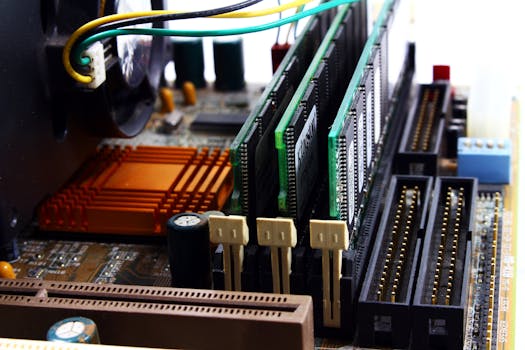
Photo: Valentine Tanasovich / Pexels
With your carefully selected components now in hand, the exciting part begins: assembly. While it might seem daunting, breaking it down into manageable steps makes the process straightforward and enjoyable. Before you start, ensure you have a clean, spacious workspace, good lighting, and essential tools like a Phillips head screwdriver, zip ties or Velcro straps for cable management, and an anti-static wrist strap to protect delicate electronics. Static electricity is the silent killer of PC components, so grounding yourself is paramount. Begin by preparing your motherboard. This involves installing the CPU, CPU cooler, and RAM before it goes into the case. First, open the CPU socket lever on the motherboard, carefully align the notches on your CPU with those on the socket, and gently place the CPU in. Do not force it. Once seated, close the lever to secure it. Next, install your CPU cooler. If it's an air cooler, apply a small pea-sized dot of thermal paste to the center of the CPU (unless pre-applied) and then mount the cooler according to its instructions, ensuring even pressure. For an AIO liquid cooler, mount the CPU block, and you'll later secure the radiator to the case. Then, install your RAM sticks. Open the clips on the RAM slots, align the notch on the RAM stick with the slot, and push down firmly until the clips snap into place. Refer to your motherboard manual for the correct slots to use for dual-channel memory. Now, prepare your PC case. Install the standoffs for your motherboard if they aren't pre-installed. These raise the motherboard slightly to prevent short-circuits. Carefully lower your assembled motherboard into the case, aligning the screw holes, and secure it with the appropriate screws. Next, install your power supply unit (PSU). Most cases have a dedicated bay for this, usually at the bottom. Slide it in and secure it with screws from the back of the case. Begin connecting the main power cables: the 24-pin ATX power to the motherboard and the 8-pin (or 4+4 pin) CPU power cable to the motherboard's CPU power header. Install your storage drives. NVMe M.2 SSDs typically mount directly onto the motherboard, secured with a small screw. SATA SSDs and HDDs slide into drive bays in your case and are connected via SATA data and power cables. Take your time with cable management as you go; routing cables neatly now will save you headaches later and improve airflow. Finally, the graphics card (GPU). Open the PCIe retention clip on the motherboard's primary PCIe x16 slot. Carefully align your GPU with the slot and push down firmly until it clicks into place. Secure it with a screw to the case. Connect the necessary PCIe power cables from your PSU to the graphics card. Double-check all connections, ensuring everything is firmly seated. This methodical approach ensures each component is installed correctly, minimizing errors and maximizing your chances of a successful first boot. Remember, patience is your best tool during this stage. Don't rush, and if something doesn't feel right, stop and re-evaluate before forcing it. Building a PC is like a puzzle, and each piece has its specific place and orientation.

First Boot, Operating System, and Driver Installation

Contemporary computer with black screen placed on stand near row of server steel racks in data center Photo: Brett Sayles / Pexels
After the physical assembly of your gaming PC, the moment of truth arrives: the first boot. This can be nerve-wracking but also incredibly exciting. Before hitting that power button, conduct a final visual inspection. Ensure all power cables are securely connected to the motherboard, GPU, and drives. Double-check that your RAM sticks are fully seated, and your CPU cooler is properly mounted. Verify that no loose screws or tools are resting inside the case, which could cause a short circuit. Connect your monitor, keyboard, and mouse to the appropriate ports on the back of your PC. Once you're confident, press the power button. If all goes well, you should see your monitor light up, displaying the motherboard's splash screen, and hear your fans spin up. If nothing happens, don't panic. Check your PSU switch, ensure the front panel connectors (power button, reset, USB) are correctly plugged into the motherboard, and reseat your RAM and GPU. Often, a loose connection is the culprit. Once you see the BIOS/UEFI screen, you've successfully completed the hardware build! The BIOS (Basic Input/Output System) or UEFI (Unified Extensible Firmware Interface) is your motherboard's firmware. You might need to enter it (usually by pressing DEL or F2 repeatedly during boot) to adjust settings, such as enabling XMP/DOCP for your RAM to run at its advertised speed, setting the boot order to your USB installer, or configuring fan curves. Consult your motherboard manual for specific instructions. The next crucial step is installing your operating system. For most gamers, this will be Windows. You'll need a Windows installation media (a USB drive with the Windows installer on it, created using Microsoft's Media Creation Tool) and a product key. Insert the USB drive, boot from it (you might need to adjust the boot order in BIOS), and follow the on-screen prompts to install Windows onto your primary SSD. This process involves partitioning your drive and selecting where to install the OS. Once Windows is installed, the work isn't over. Your PC will likely function, but not optimally. You need to install drivers – software that allows your operating system to communicate effectively with your hardware. Start with your motherboard's chipset drivers, which can usually be found on the manufacturer's website. Next, download and install the latest graphics card drivers directly from NVIDIA or AMD's website. These are critical for gaming performance and stability. Don't rely on Windows Update for these; always get them straight from the source. You'll also want drivers for your network adapter (Ethernet/Wi-Fi), audio, and any other peripherals. After installing all necessary drivers, perform a Windows Update to ensure your system is fully patched. Finally, install your favorite games and benchmarking tools to test your new build. Run a few benchmarks to verify performance and monitor temperatures to ensure everything is running within safe limits. This final phase transitions your collection of components into a fully functional, high-performance gaming machine. If you encounter any issues, remember that the PC building community is vast and helpful; online forums and guides can provide solutions to almost any problem. For more on optimizing your system, explore our articles on PC performance tuning.

Common Mistakes to Avoid & Essential Post-Build Tips

Contemporary computer with black screen placed on stand near row of server steel racks in data center Photo: Brett Sayles / Pexels
Building a gaming PC is a rewarding experience, but it's also easy to make small errors that can lead to frustration or even damage. Being aware of common pitfalls can save you a lot of grief. One of the most frequent mistakes is neglecting an anti-static wrist strap. Static electricity is invisible but can permanently damage sensitive components like your CPU, RAM, or motherboard. Always ground yourself before touching any internal parts. Another common oversight is failing to properly seat components. RAM sticks, power cables, and the graphics card need to be pushed firmly until they click or are fully inserted. A partially seated component can lead to a 'no boot' scenario or intermittent issues. Many first-time builders also forget to remove the plastic film from the CPU cooler's base before applying thermal paste and mounting. This film prevents proper heat transfer, leading to dangerously high CPU temperatures. Always double-check for this. Incorrect cable management is another trap. While it might seem purely aesthetic, messy cables can obstruct airflow, leading to higher internal temperatures. It also makes future upgrades or troubleshooting much harder. Take your time to route cables neatly behind the motherboard tray. Lastly, not installing or updating drivers is a significant performance killer. Your PC won't perform to its full potential without the correct, up-to-date drivers, especially for your GPU. Always download the latest drivers directly from the manufacturer's websites. Beyond avoiding these mistakes, here are some essential post-build tips:
  • **Monitor Temperatures:** Use software like HWMonitor or MSI Afterburner to keep an eye on your CPU and GPU temperatures, especially during gaming. High temperatures can indicate poor airflow, an improperly mounted cooler, or insufficient thermal paste.
  • **Enable XMP/DOCP:** Go into your BIOS/UEFI and enable the XMP (Intel) or DOCP (AMD) profile for your RAM. This ensures your RAM runs at its advertised speed, which can significantly impact gaming performance.
  • **Update BIOS/UEFI:** While not always necessary immediately, occasionally updating your motherboard's BIOS can improve stability, add support for newer CPUs, or fix bugs. Follow your motherboard manufacturer's instructions carefully.
  • **Benchmark Your System:** Run synthetic benchmarks like 3DMark or Cinebench, and in-game benchmarks, to verify your PC's performance and ensure everything is working as expected.
  • **Regular Cleaning:** Dust is the enemy of electronics. Periodically clean the inside of your PC with compressed air, paying special attention to fan blades and heatsinks, to maintain optimal airflow and cooling.
  • **Software Hygiene:** Keep your operating system clean by uninstalling unused programs and running antivirus scans regularly. A clutter-free system performs better.
By being meticulous during the build and following these post-build practices, you'll ensure your custom gaming PC runs smoothly, reliably, and at peak performance for years to come.

Comparison

FeatureDIY Gaming PCPre-built Gaming PCGaming Laptop
CostLower (Component selection)Higher (Assembly + markup)Highest (Portability premium)
Performance/PriceExcellentGoodModerate
Customization
Upgradeability✗ (Limited)✗ (Very limited)
Troubleshooting EaseModerate (Learning curve)Easy (Manufacturer support)Difficult (Sealed units)
Thermal ManagementExcellent (Good airflow)Good (Case dependent)Challenging (Compact design)

What Readers Say

"This guide made the whole process of how to build a gaming PC so much less intimidating. I followed the steps and now have a beast of a machine that runs everything flawlessly, and I saved hundreds!"

Alex P. · Austin, TX

"I was nervous about breaking something, but the detailed instructions and tips on avoiding mistakes gave me the confidence to complete my first build. My new PC is incredibly fast."

Sarah L. · Seattle, WA

"I used this article as my primary resource for building my new Ryzen 7, RTX 4070 rig. The result? A perfectly stable system that hits 144+ FPS in all my favorite titles at 1440p."

David M. · Orlando, FL

"The guide was super comprehensive, though I wish there were a few more visuals for the trickier cable management parts. Still, I got my PC up and running with minimal fuss, which is a huge win for a first-timer."

Jessica R. · Denver, CO

"As a casual gamer stepping into competitive esports, I needed a PC I could trust. Building it myself with this guide meant I knew every component and could optimize it exactly for my needs. The performance difference is night and day."

Mark T. · Chicago, IL

Frequently Asked Questions

Is it really cheaper to build your own gaming PC?

Generally, yes. By building your own, you avoid the markup associated with pre-built systems, and you can often find better deals on individual components. This allows you to allocate your budget more efficiently to the parts that matter most for your specific gaming needs, potentially getting more performance for your money.

What if I break a component during the build process?

While it's a valid concern, component damage is rare if you follow instructions carefully and take anti-static precautions. Most components are more robust than they appear. If an issue arises, many retailers offer return policies, and manufacturers have warranties. Always handle components by their edges and avoid touching pins or delicate circuits.

How do I ensure all my chosen components are compatible?

The easiest way is to use online PC Part Picker websites. These tools allow you to select components, and they automatically check for compatibility issues between your CPU, motherboard, RAM, and other parts, flagging potential problems before you buy.

What's a realistic budget for building a decent gaming PC?

A decent entry-level gaming PC can start around $700-$900, offering good 1080p performance. Mid-range builds for 1440p gaming typically fall into the $1200-$1800 range, while high-end 4K setups can easily exceed $2000. Your budget will determine the level of performance you can achieve.

How does building a PC compare to buying a gaming console?

Building a PC offers significantly more flexibility, upgradeability, and often superior graphical fidelity and frame rates compared to consoles, especially for competitive gaming. PCs also serve multiple functions beyond gaming. Consoles offer a simpler, plug-and-play experience at a lower initial cost, but with less long-term versatility.

Who should consider building their own gaming PC?

Anyone looking for maximum performance for their budget, seeking a personalized gaming experience, or interested in learning more about computer hardware should consider building a PC. It's also ideal for those who anticipate future upgrades or want a machine capable of more than just gaming, like content creation.

Are there any safety risks involved in building a PC?

The primary safety risk is static electricity, which can damage components. Always use an anti-static wrist strap or regularly touch a grounded metal object. Beyond that, ensure your power supply is unplugged from the wall during assembly. There are no high voltage risks once the PSU is disconnected.

What future trends might impact PC building?

We can expect continued advancements in CPU and GPU technology, leading to more powerful and efficient components. DDR5 RAM and PCIe Gen 5/6 will become standard, offering faster data transfer. Miniaturization and improved cooling solutions for compact builds are also evolving, alongside a growing emphasis on AI integration in hardware.

Ready to take control of your gaming destiny and save money in the process? Our comprehensive guide on how to build a gaming PC provides all the knowledge and confidence you need to assemble your ultimate custom machine. Start your build today and experience gaming like never before!

Topics: how to build a gaming pcgaming pc build guidecustom gaming computerpc building tipsgaming hardware components
Leo List
Brampton weed
Adultwork